If you build new surfboards, it sometimes feels like repairing old ones isn’t worth it – why not spend that time on building a new board instead? If you don’t build surfboards, you might lack the knowledge or confidence to be able to do a proper repair. But if you have a board you really like, and even more so if it is a genuine custom board, it is always worth to keep after it, repair dings, replacing boxes, etc. In this post, I will show you how I replaced a broken fin box on my magic custom wave-sailing board. It is a Quatro customboard originally built for Levi Siver, one of the best pro wave-windsurfers around. I know Levi a little bit, and usually buy my wave-sailing boards from him. He is of course a much better wave-sailor/windsurfer than me, but we happen to like same type of boards. And the individual boards he really likes, are always much better for me than anything else I can get hold on. And this specific board is truly my very magic one!
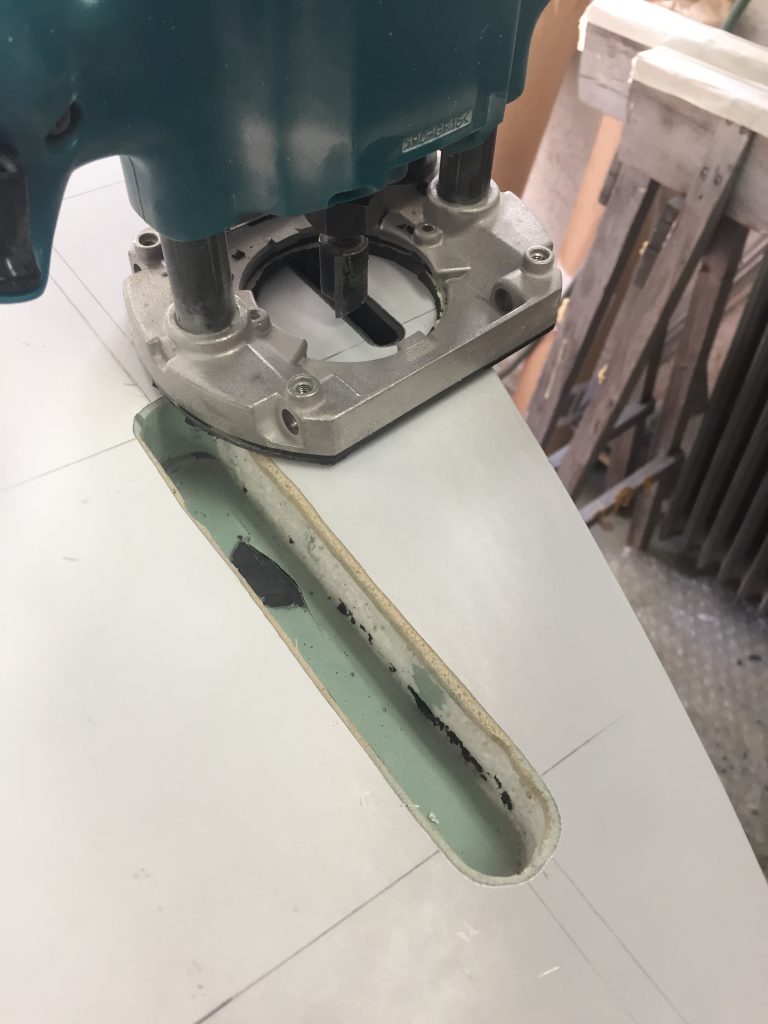
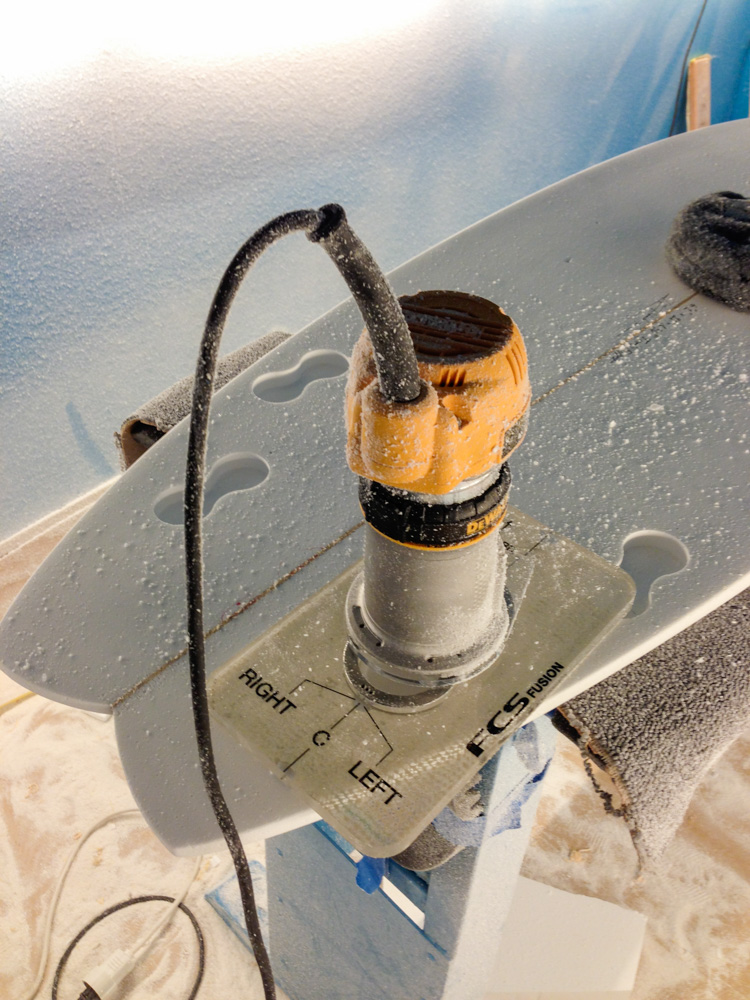
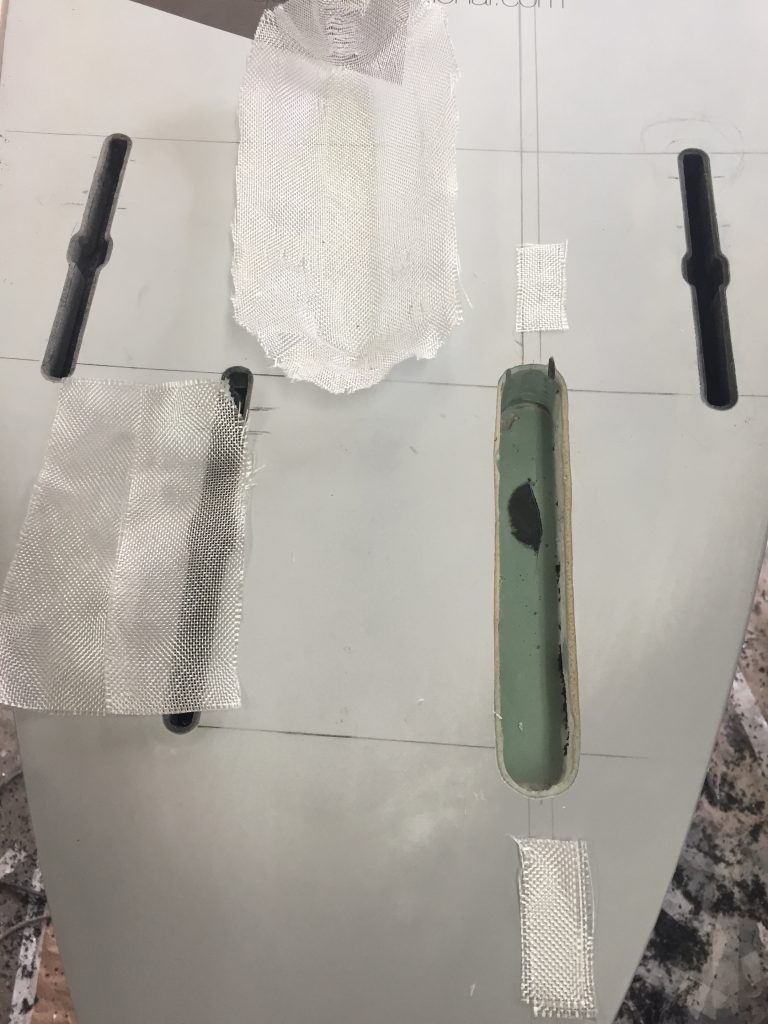
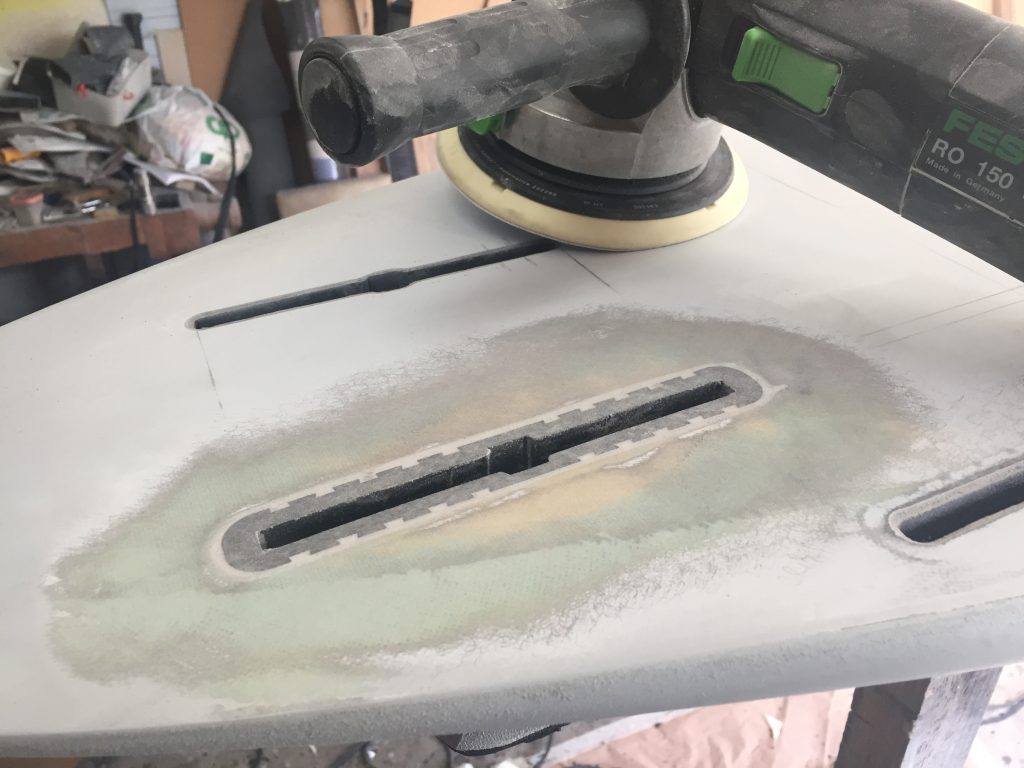
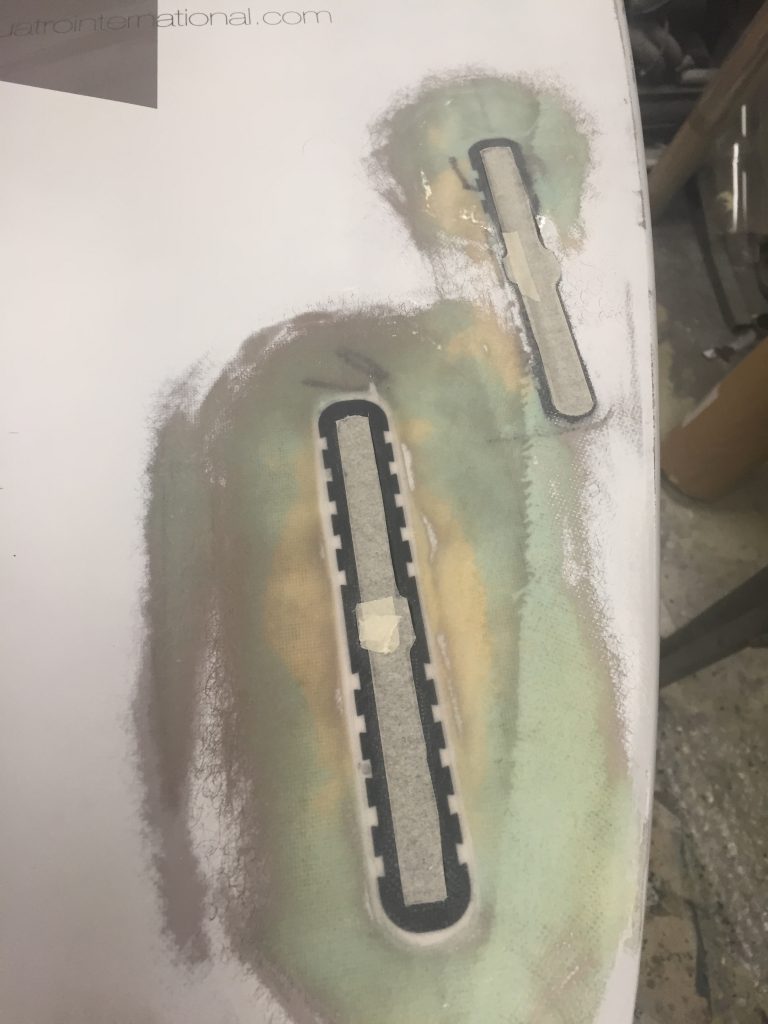
Before I take out the old broken box, I draw lines showing its exact placement. With these lines, it is easy to position the new in the correct place. When the broken box is out you might want to clean up the hole. Especially if you route it by free hand (as I did), or even more so if you don’t have router and use a drill and file. Next, cut glass patches that fits between the box and the hole (this is not necessary on a surf board using FCS or Future systems).
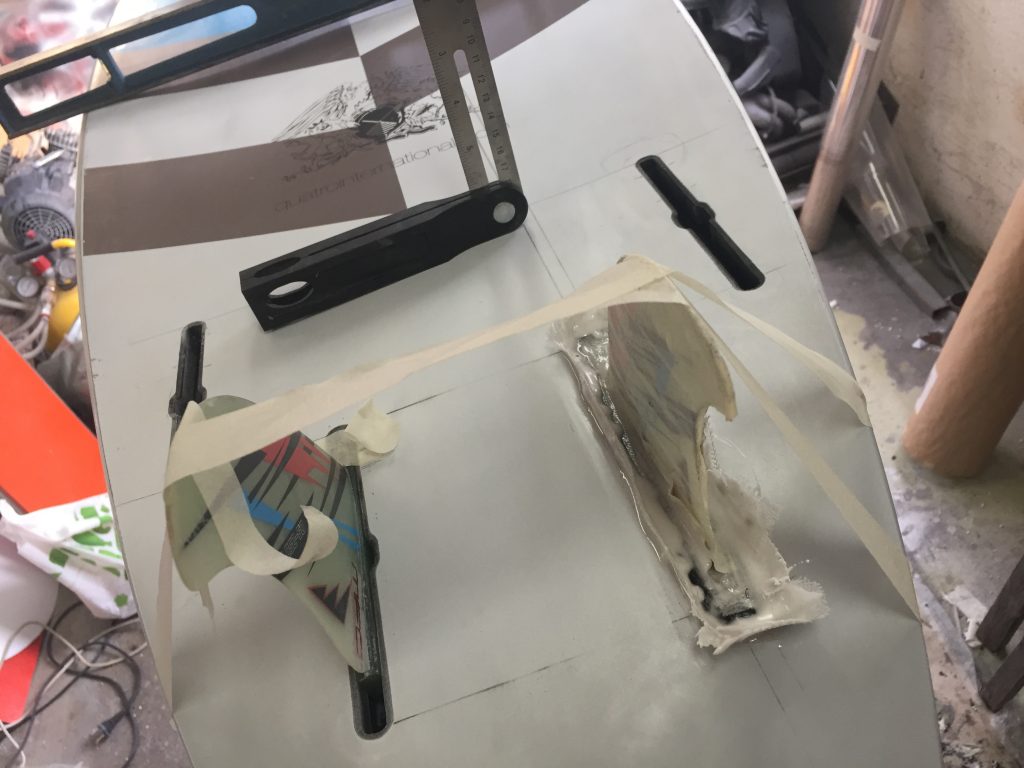
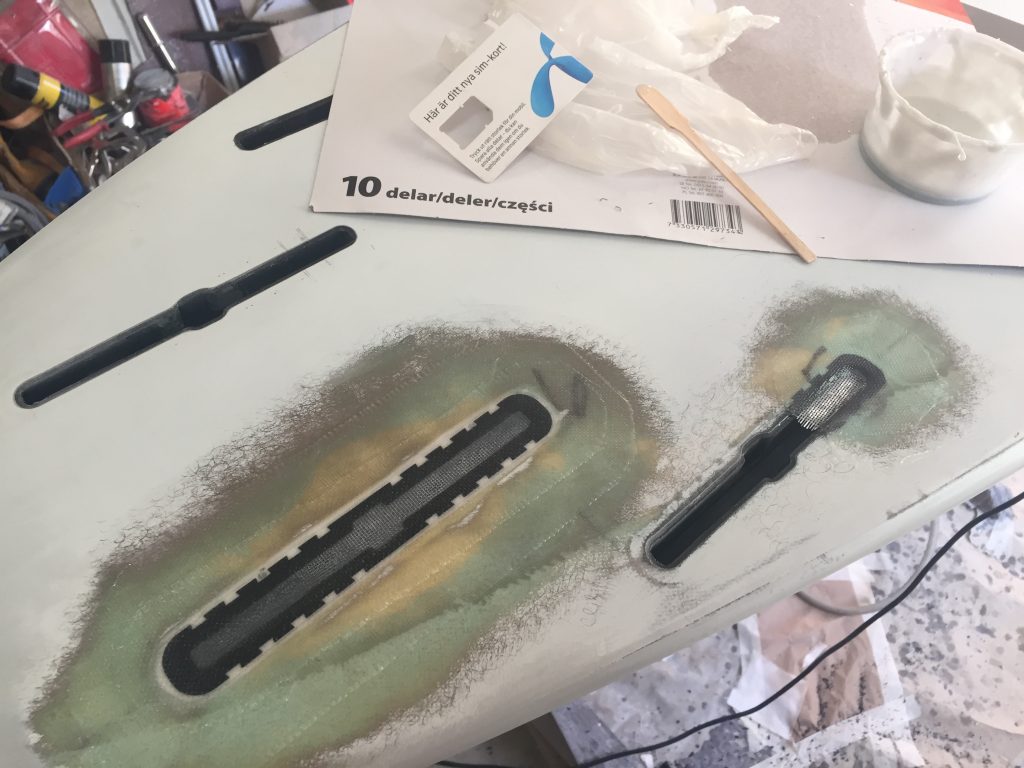
Mix resign (epoxy here since we work with an eps core) and apply a layer on all sides of the hole, then place the glass patches in the hole and wet it with epoxy. Then mix the rest of the resign with micro balloons. This is very important since it keeps the temperature of the epoxy down when it hardens. Have a fin attached in the box and push it down into the hole. Compare/measure the angle (cant) of the fin with a fin in the non-broken box on the other side (if not a single fin). I usually get it more precise when eyeballing than when using a measuring tool. If necessary, use tape to adjust the angle.
Take out the fin before the epoxy is totally hardened. At the same time, cut away some of the cloth and laminate to minimise the sanding.
Now it is time to sand. If you don’t have a good sander or don’t know how to use one, take a wooden block and regular paper. 40, 60 or 80 paper works fine.
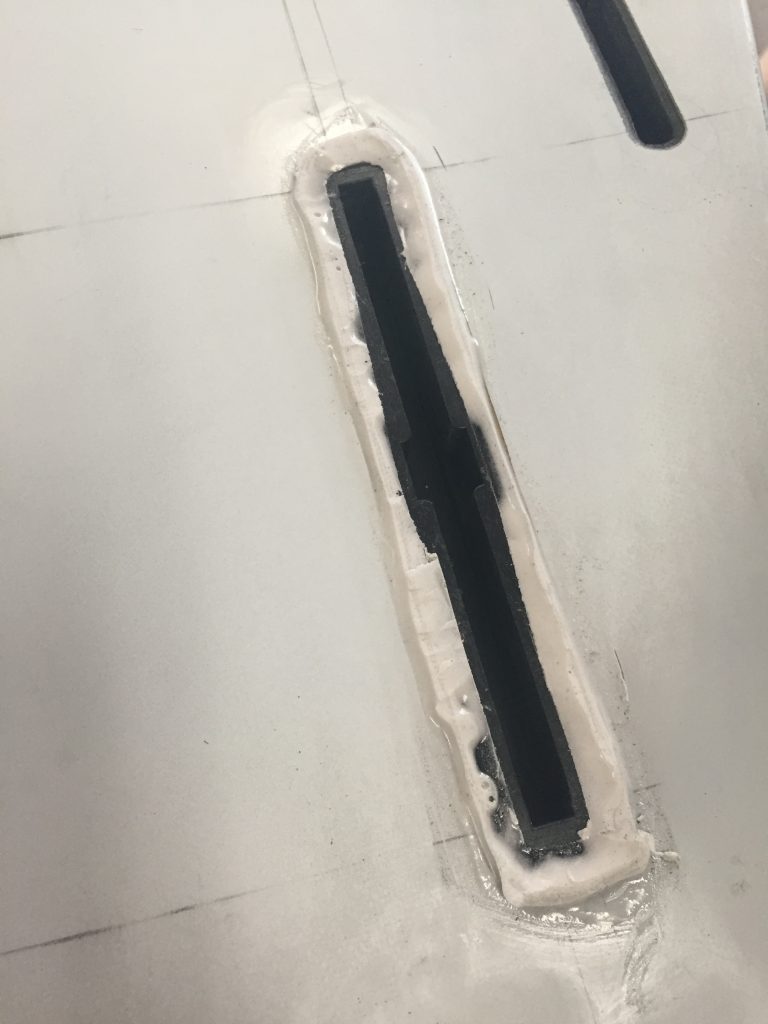
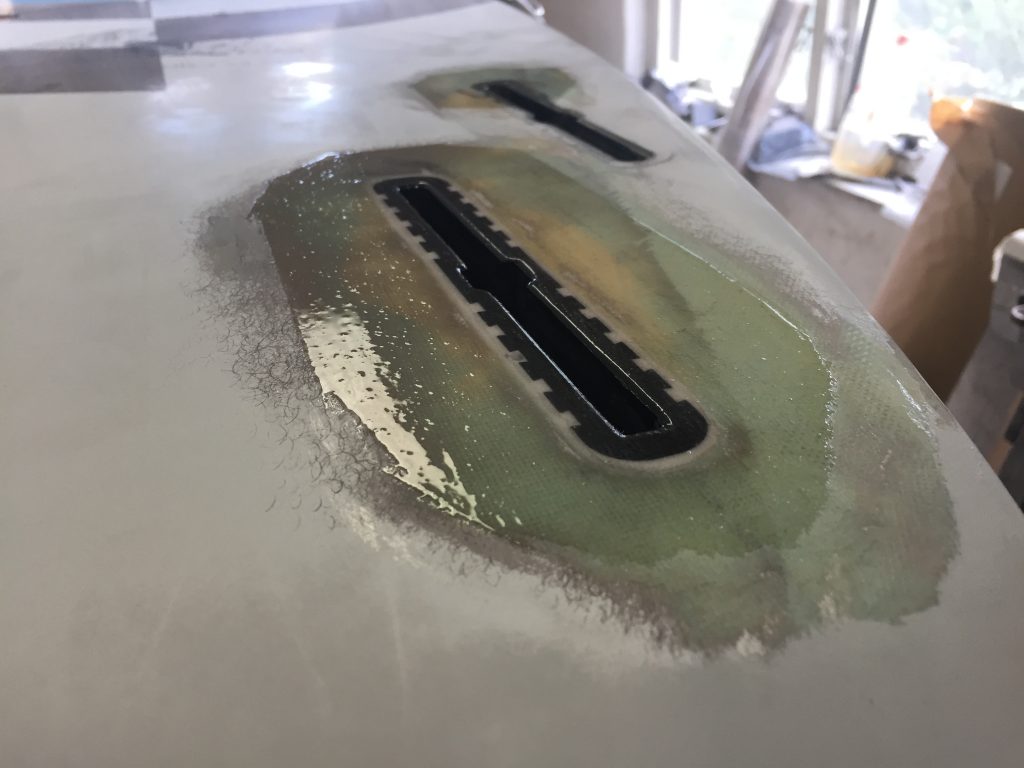
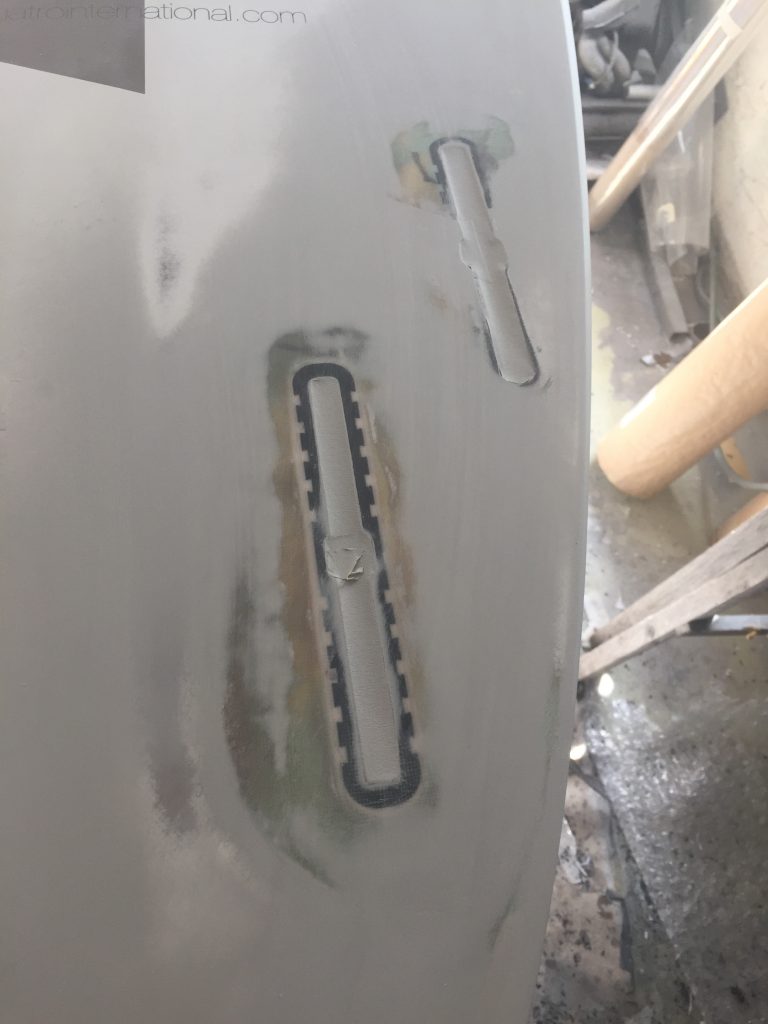
Now you should cover the new box with one or two layers of glass cloth patches. The biggest should be about an inch bigger than the top surface of the box. If two layers, the top one should be a little bit smaller. Mix epoxy and apply on the cloth. You don’t need to use any tape, just apply a very limited amount epoxy and it will not sink into the fin box slot. I prefer a small plastic spreader before a brush. It gives me more control over the amount of epoxy.
Cut the slots open with a razor blade before the laminate is fully hardened. Then let it harden. Use a file to clean up the slot. It is very important that the new laminate is sanded down and away from the edges of the slot (if not, the fin can break up the new laminate when it is removed).
Then sand down the outer edges of the new laminate. Use a hard pad on the sander or a hard wooden block. If you use a soft it will not be even. Be careful not to sand into the original laminate outside the newly laminated patches.
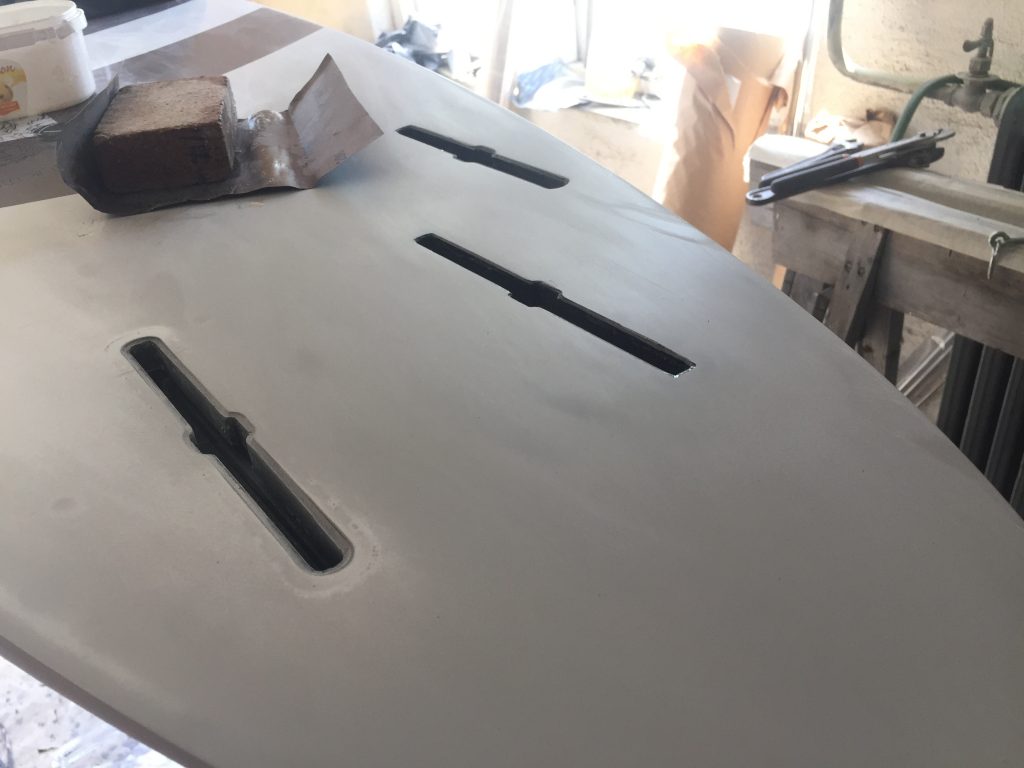
Now you can choose various materials to fill out the structured surface. Easiest is to use a ready made putty, better is to mix your own putty by applying microballons to epoxy. Even more hardcore (the strongest, but a little bit more difficult) is to use only epoxy, that is to apply a proper hotcoat (on a clear laminate surfboard this is the only option if you want the repair to look good). Here I went for epoxy/hotcoat.
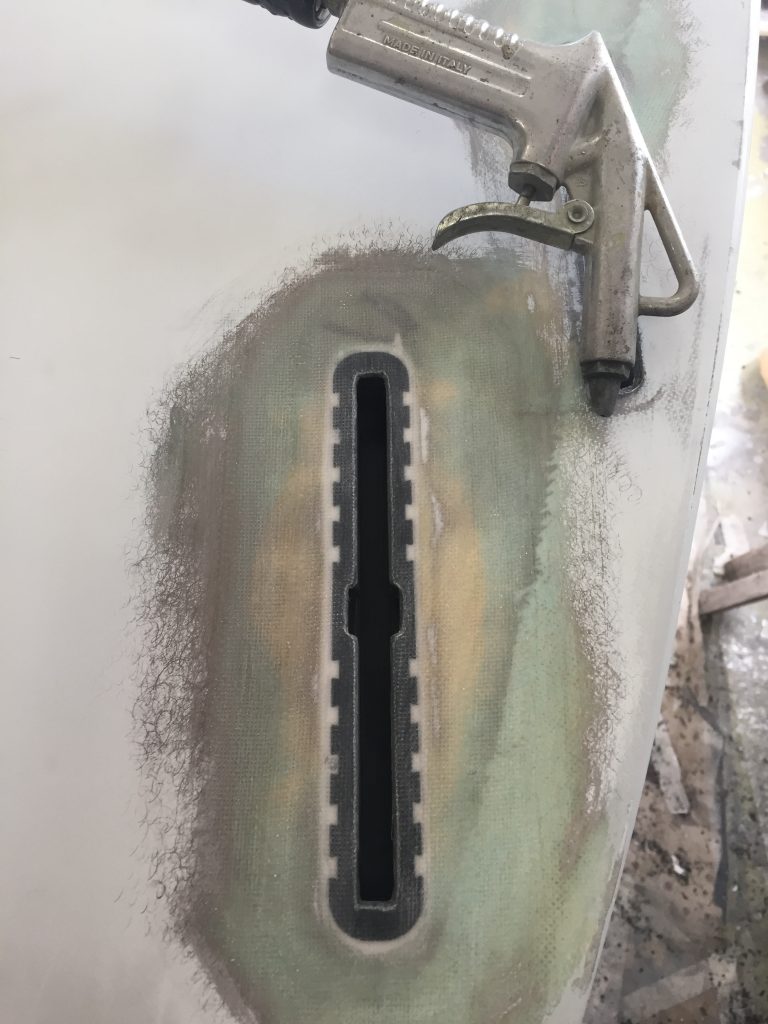
Sand down the putty/hotcoat. Be careful not to sand down in the laminate outside the putty/hotcoat. After this sanding, I cheated a little. Since windsurf boards don’t have clear laminates, you’r free to use whatever putty you like. And since this particular board has a grey color that is very similar to “Hagmans sprutpackel”, a car putty on spray can, I sprayed a couple of layers of this putty. Tape off the slots before using the spray.
Sand again, but this time with finer paper (240-320).
If not 100% even, add a few more layers of (spray) putty or epoxy/hotcoat, and finish the job by wet sanding with an even finer paper (600-1200).
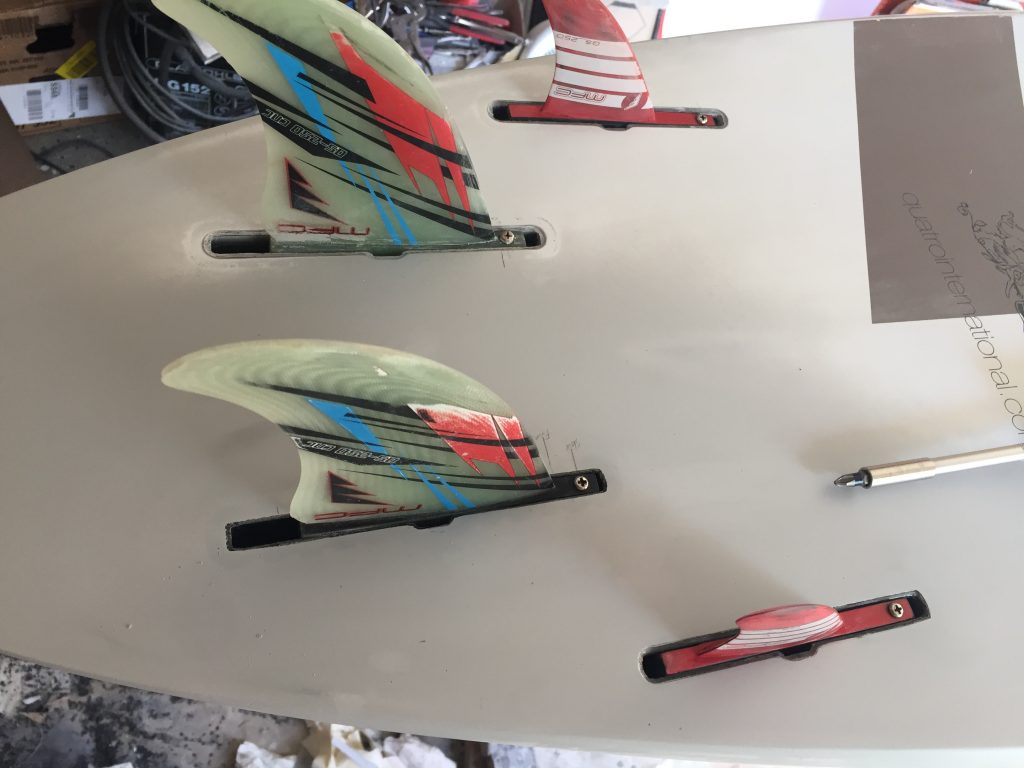
Then put back your favourite fins and your all set for the next wave-sailing session!
This “how to” is a little bit specific for windsurf boards. Most parts can be applied to surfboards, but the use of putty and spray putty is not the way to go on a clear laminate. Instead of adding putty, you mix a new batch of epoxy or polyester and apply it with a brush, then sand.
I will publish more “how to” posts in the near future. How to do an invisible ding-repair on a clear-laminate surfboard, how to repaire a surfboard broken in two pieces, and of course different steps in building a surfboard! If you have any questions – please don’t hesitate to ask them in the comments field below.